Return back to the Dynamics Hub
Step 1: Log In and Open the Email Section
- Sign into Real-Time Journeys in Dynamics.
- On the left-hand menu, find Channels and click on Emails.
Step 2: Start a New Email
- Click the + New button at the top of the page.
- You’ll be directed to Email Template pop up.
Step 3: Choose a Template
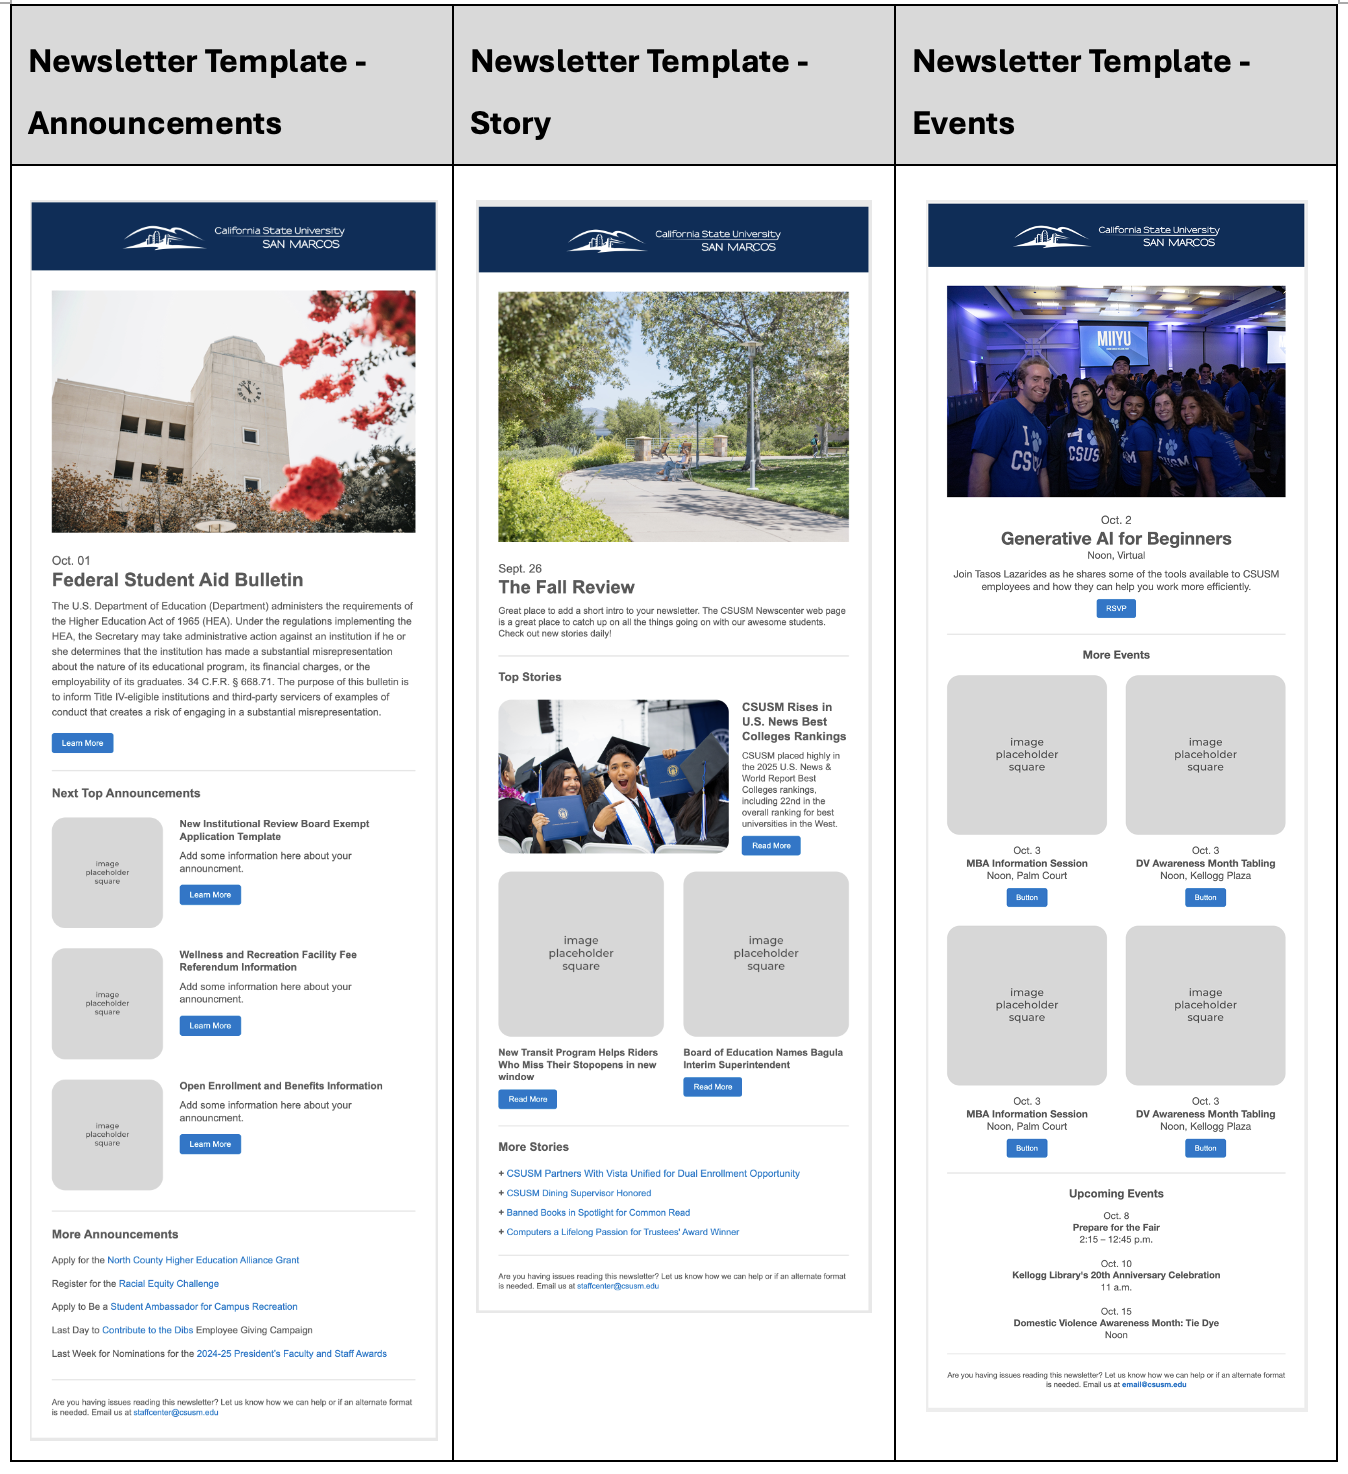
- In the Custom Templates tab, find your department’s email template.
- You can choose from 3 CSUSM-approved templates or start from scratch.
Pro Tip: Click the star icon to save the email template for quicker access!
- Once you select the right template, click on Select at the bottom right to create a new email.
Step 4: Rename Your Email for Organization
- At the top of the page, click the text box to rename your email for internal purposes.
- If creating from scratch, it may say something like “Email 21”.
- Use this format: [Date to Be Sent: Goal]: Subject Line
- Example: 092724: Join Us for Social Mobility 2024
Step 5: Set Up the Email Details
- Click on the section labeled From and Subject to expand.
- Update the following fields:
- From Name: Use your department name (e.g., University Communications).
- From Email: Use your department’s email (e.g., comoffice@dynamics.csusm.edu).
Important: The domain must be whitelisted before the @csusm.edu as it's required in Dynamics for tracking purposes. - Subject Line: Keep it short and specific to grab attention.
Pro Tip: Avoid vague subject lines — set clear expectations for the email. - Preview Text: You can leave this blank.
- Click Save at the top right to save your progress.
Step 6: Confirm Email Settings
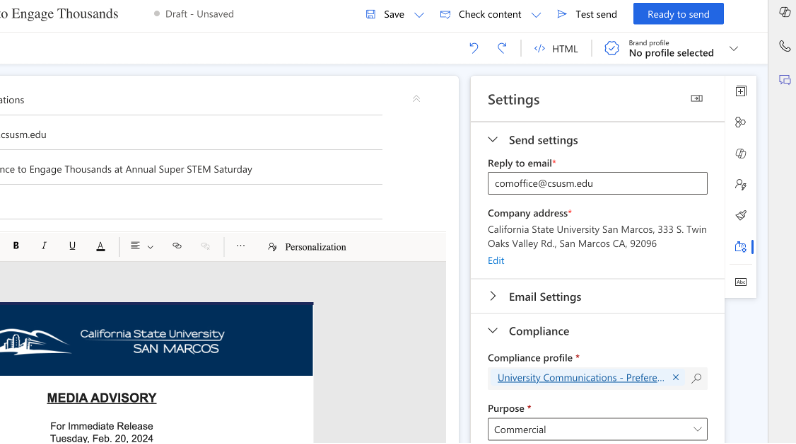
- On the top-right-hand side in the Elements area, click the mailbox icon to open Settings (it's closer to the bottom of the options).
- Check the following:
- Reply to Email: This is usually the same as the From Email, but without “dynamics” in the address (e.g., comoffice@csusm.edu).
- Compliance Purpose:
- Commercial: For external audiences like mailing lists, marketing emails, and optional communications.
- Transactional: For required emails resulting from registration, purchase, or group membership.
- Click Save again to ensure changes are saved.
Step 7: Start Adding Content
- Now that your setup is complete, you’re ready to start adding content to your email.
- Head on to the next section to begin building!


